The complete guide to 3d character modeling for the uninitiated
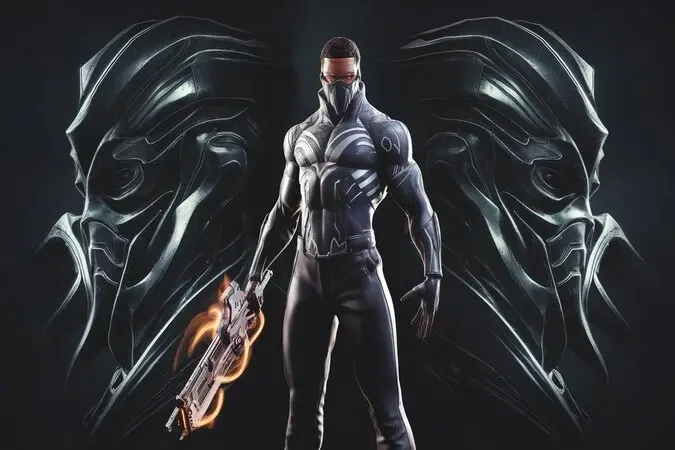
3D character modeling lets you build virtual 3D figures of characters with attributes that can be applied to animations, games, films, and others. However, for a beginner, the world of 3D modeling is rather challenging. There are numerous theories, frameworks, approaches, methodologies, models, methods, and perspectives that can be studied. This article will give the most general information on how to start creating 3D character models and give you step-by-step instructions to guide you through the process of creating your characters.
Getting Set Up
Modeling resources can be defined as the necessary tools or instruments that are required in modeling. The primary application that would be essential in this case is 3D modeling software. Some of the most widely used ones are Blender which is free and open-source software and then there is Maya, 3ds Max, cinema 4D, and Modo. The next option would be safer for a beginner since Blender is free to use and could be the easiest way to start. You should also have a graphics tablet, as it provides you with much more control and precision while modeling than a mouse.
After you have your software and hardware, just get acquainted with the basic notions that are polygons, vertices, edges, textures, unwrap UVs, and materials. What our learners may find complicated: There is no need to worry about the terminology used to describe the different elements of the approach. Although these concepts may sound rather abstract here, as you begin to advance through modeling, you will better understand them through practice.
Basic Shapes and Form
When modeling a character, there is often a predefined set of shapes that are used as a base. This determines the shape and nature of the character. Examples of primitive shapes include cubes, spheres, cylinders, and cones among others. Pose these into rough equivalents of your character’s body parts using the tools in the modeling sub-menu.
For instance, the trunk can be modeled in a cuboidal shape while the limbs are cylindrical, the head can be spherical or simply cuboidal while the hands and feet can be in a box or spherical shape. At this stage, do not try to perfect shapes and forms – just get the basic forms blocked out.
Sculpting and Refining Details
After completing the initial stance and positioning of all the forms, it is now time to add detail and chisel and shape the figures. There are generally two main techniques for doing this:
1. Polygon modeling – manipulating specific areas of the mesh by pushing or pulling them or extruding them to create certain aspects.
2. Sculpting with the help of sculpting brushes – tools that work on the model as on a piece of clay and push/pull forms on the sculpture.
When it comes to organic subjects such as characters, sculpting is mostly enjoyable for a beginner. Tweak to precision as desired for distinguishable contours – add hooks, creases, and wrinkles on the face, muscle definition on the body, bends for elbows/knees/feet, etc. Avoid symmetry and concentrate on the shapes and structure to achieve the resemblance of reality.
Texturing and Unwrapping UVs
Now it is time to add color and textures to the model. These are 2D images ‘wrapped’ around the 3D surfaces – this is known as UV mapping or UV unwrapping. I mean, imagine slicing it like the skin of an orange and placing the skin flat on a table. If your model has UVs, then unwrap them to ensure that the textures will slide in 2D space when placed on the 3D character model.
Creating textures themselves is possible in a few ways. You can paint them by hand in Photoshop or texture painting tools if you are not satisfied with the initial result. It is also possible to apply scanned textures of actual surfaces, such as leather or concrete, in order to achieve a more realistic look. Good textures can be created with the help of digital art skills, although no skills are needed, it is just a matter of practice.
Rigging and Animation
No rig is needed to design your completed character model but to pose and animate it to move, a skeleton rig is required. Rigging is when digital bones are connected to the mesh and can then be placed. If you try to move these bones, then it will distort the model based on these bones in whatever way you want. Rigging I found requires a little bit of skill but thankfully there are videos on the internet to show you how. Once rigging is complete, your model can be imported into an animation application and then you begin to pose! For the character to appear real, you need to change the facial and hand gestures, movements,s and other parts of the body.
Rendering
Rendering is the last stage in which your scenes are converted into 2D images or videos as the final output. It can be used to produce a single image for a concept such as a character model or the whole animation. Rendering is the process where it determines how the virtual light sources, cameras, and materials work jointly to produce the final color of the pixel. Currently, there are many render engines with different advantages – Cycles and Eevee of Blender, VRay, Arnold, Octane, and many more. Important to be able to manipulate light, material, and render settings to achieve the intended mood, focus, and tone.
These are some of the fundamental assumptions you need to grasp if you are prepared to begin modeling a myriad of rather peculiar characters. It can take a fair amount of time to learn how to create 3D models from scratch, but once a person starts modeling in 3D, they can unleash a lot of creativity. Don’t get frustrated when you are not as successful the first time, just get better with each project. Suddenly, you’ll have an entire set of digital characters lined up for animation right at your disposal!
Summary
- In 3D modeling, one can create such characters in a digital form and make them exist, at least on screen.
- For creating three-dimensional models, you require 3D software – Blender is preferred, and a drawing tablet.
- Begin with the gross form and add the fine-grain ly
- UV seems to be the right tool for applying images onto the textures.
- Bones contained within a rig to control the posing and animation.
- Fine-tune rendering for final surface pixels
- Foundations open an abounding number of opportunities for creativity!
Wrap Up
And that’s it, folks, this is the complete basic guide to creating 3D characters in the simplest ways possible! As mentioned above, there is nothing complicated about it – with a little patience and practice, you’ll be modeling your artistic ideas in the blink of an eye. What legends will you narrate and who will be your legends? Happy modeling!
MORE FOR YOU

You Will Never Thought That Knowing 3D Furniture Modeling Could Be So Beneficial
Published On: 12 Sep 2024Recent Blog
- Why Small Businesses Need Professional Accounting Services?
- Offshore Web Development – What is it? And Why It’s in Trends
- Python vs .Net: Choosing the Right Language For Your Project
- Digital Account Manager Job Description Template
- 20 of the Best Product Design Tools to Use in 2024
- Employed vs Freelance Bookkeepers: What’s the Difference?
- Top 12 Free Agile Tools for Your Scrum Team
- Top 10 Real Estate Virtual Assistant Companies 2024
- Top 25+ Software Business Ideas for Start-Ups in 2024
- Uncover Benefits Of Local SEO Outsourcing

